Another attempt at a 1940s-era hairstyle--this one more successful (it just takes practice!). I started by parting my hair into three sections - left, right, and back - and made smaller pin curls than last time. I curled my bangs forward and to the left this time. I used 24 pin curl clips and several bobby pins for this set. I included my most recent headgear acquisition at the end, a perfect touch on top of this particular hairstyle.
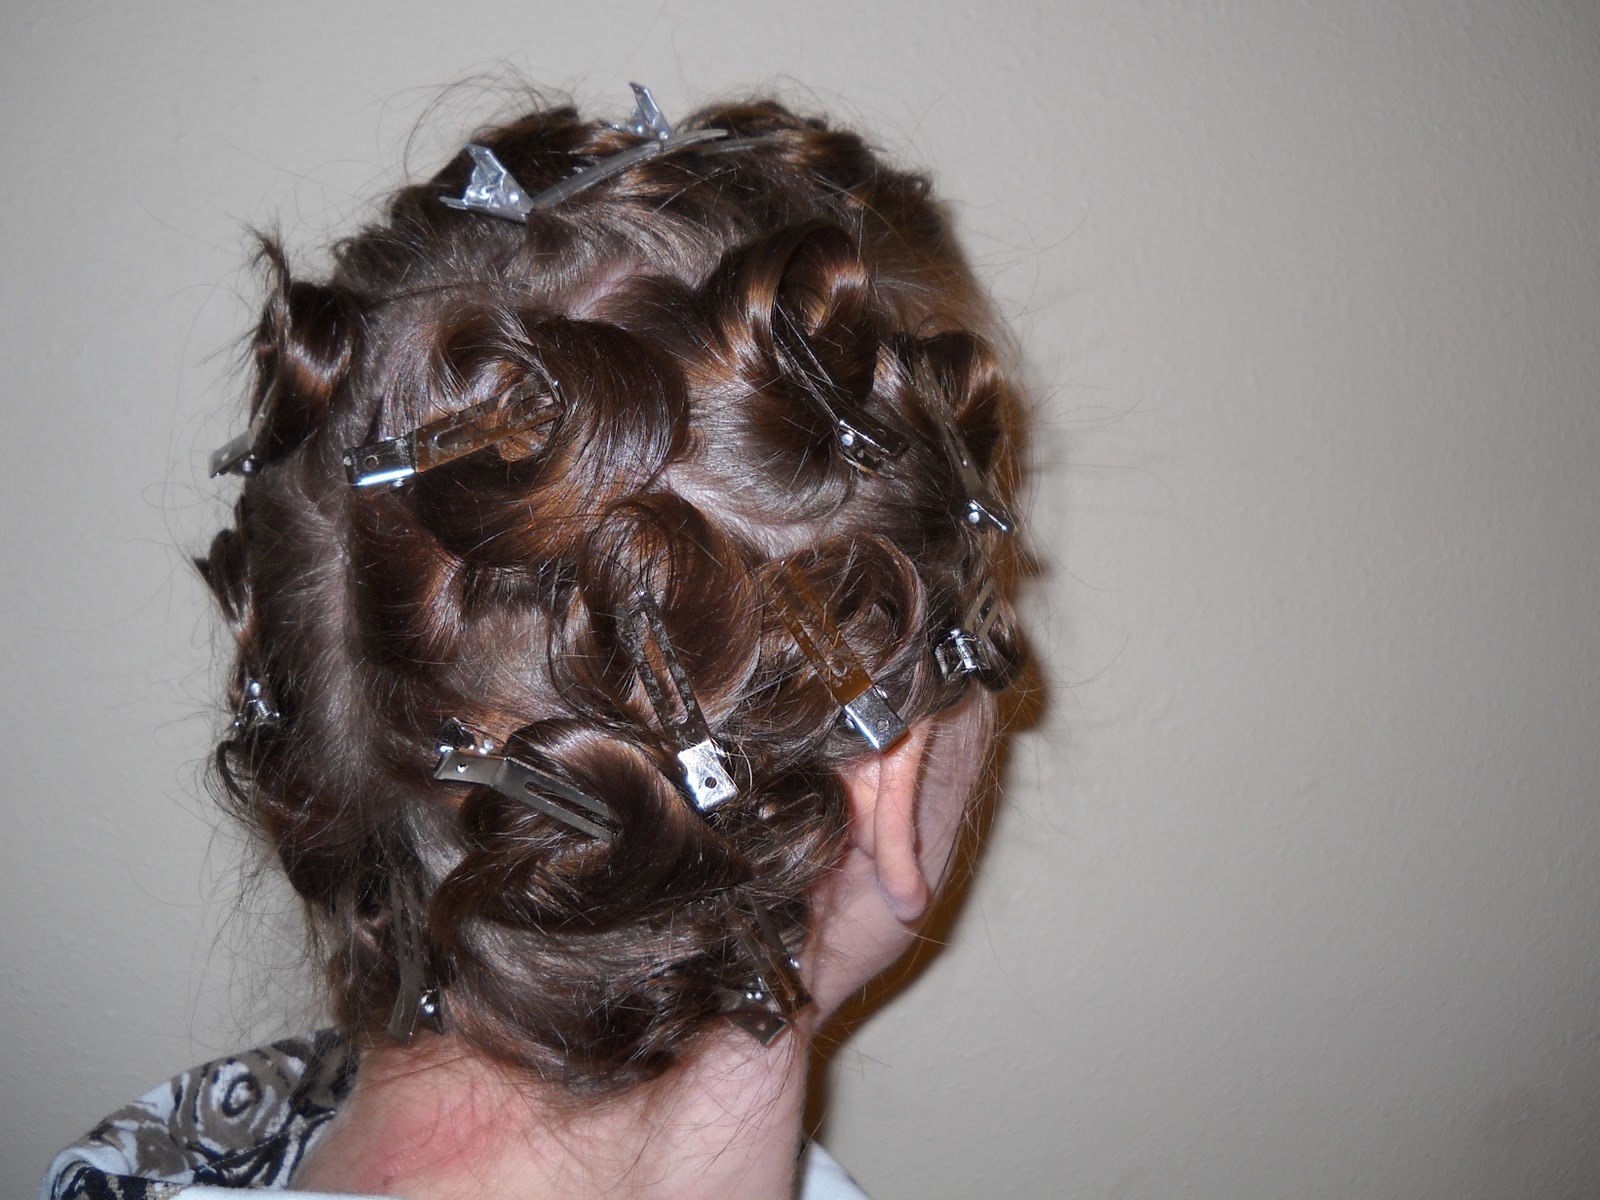
Here is a good look at the back of my head with all the pin curls in.
They don’t have to be very organized, just using all your hair. And the pin curl clips them-selves don’t have to cover the whole curl.

Smaller sections make for tighter curls, and larger sections often require more clips.
I curled the front-side sections the same direction on purpose: counter-clockwise. This helps when I want them to frame my face after I brush them out.
I pulled my bangs across and then curled them counter-clockwise as well. This allowed me more ability to mold them once they were brushed out.

This is with all the clips removed. Stop here to create the Shirley Temple look.
Unclip, shake out the curls, spray down, and run your fingers through with de-frizz gel or spray. It’s a bouncy look, fun for those with straight hair and hat if you like.
As you can see, the bangs are looser curls but they are fairly uniform to allow me to keep them over my forehead. They are also long enough for me to pin them down as I please.
As you can see, the bangs are looser curls but they are fairly uniform to allow me to keep them over my forehead. They are also long enough for me to pin them down as I please.

Here I have liberally brushed out the curls.
The bangs were not compliant when I brushed them straight out, so make sure to curl with the brush if you can (round brush!).
Also, brushing each curl individually gave me a lot of volume in the back.

The final product!
I used the brush to curl the bangs and sprayed them into place. The longer bangs were curled and pinned under, and are neatly hidden by the hat.
I had enough volume to wear a hat that would emphasize the shape, and the veil is a lovely finishing touch.
No comments:
Post a Comment